Skip to content
Velo

Heatmap

Show heatmaps in your Velo chart

In this guide, we will go through:

  1. Turning on heatmaps
  2. Configuring heatmaps with different options
  3. Turning on Hyperliquid-specific heatmaps

Turning on heatmaps

To turn on heatmaps in Velo, press the button Toggle Heatmap in the TradingView toolbar.
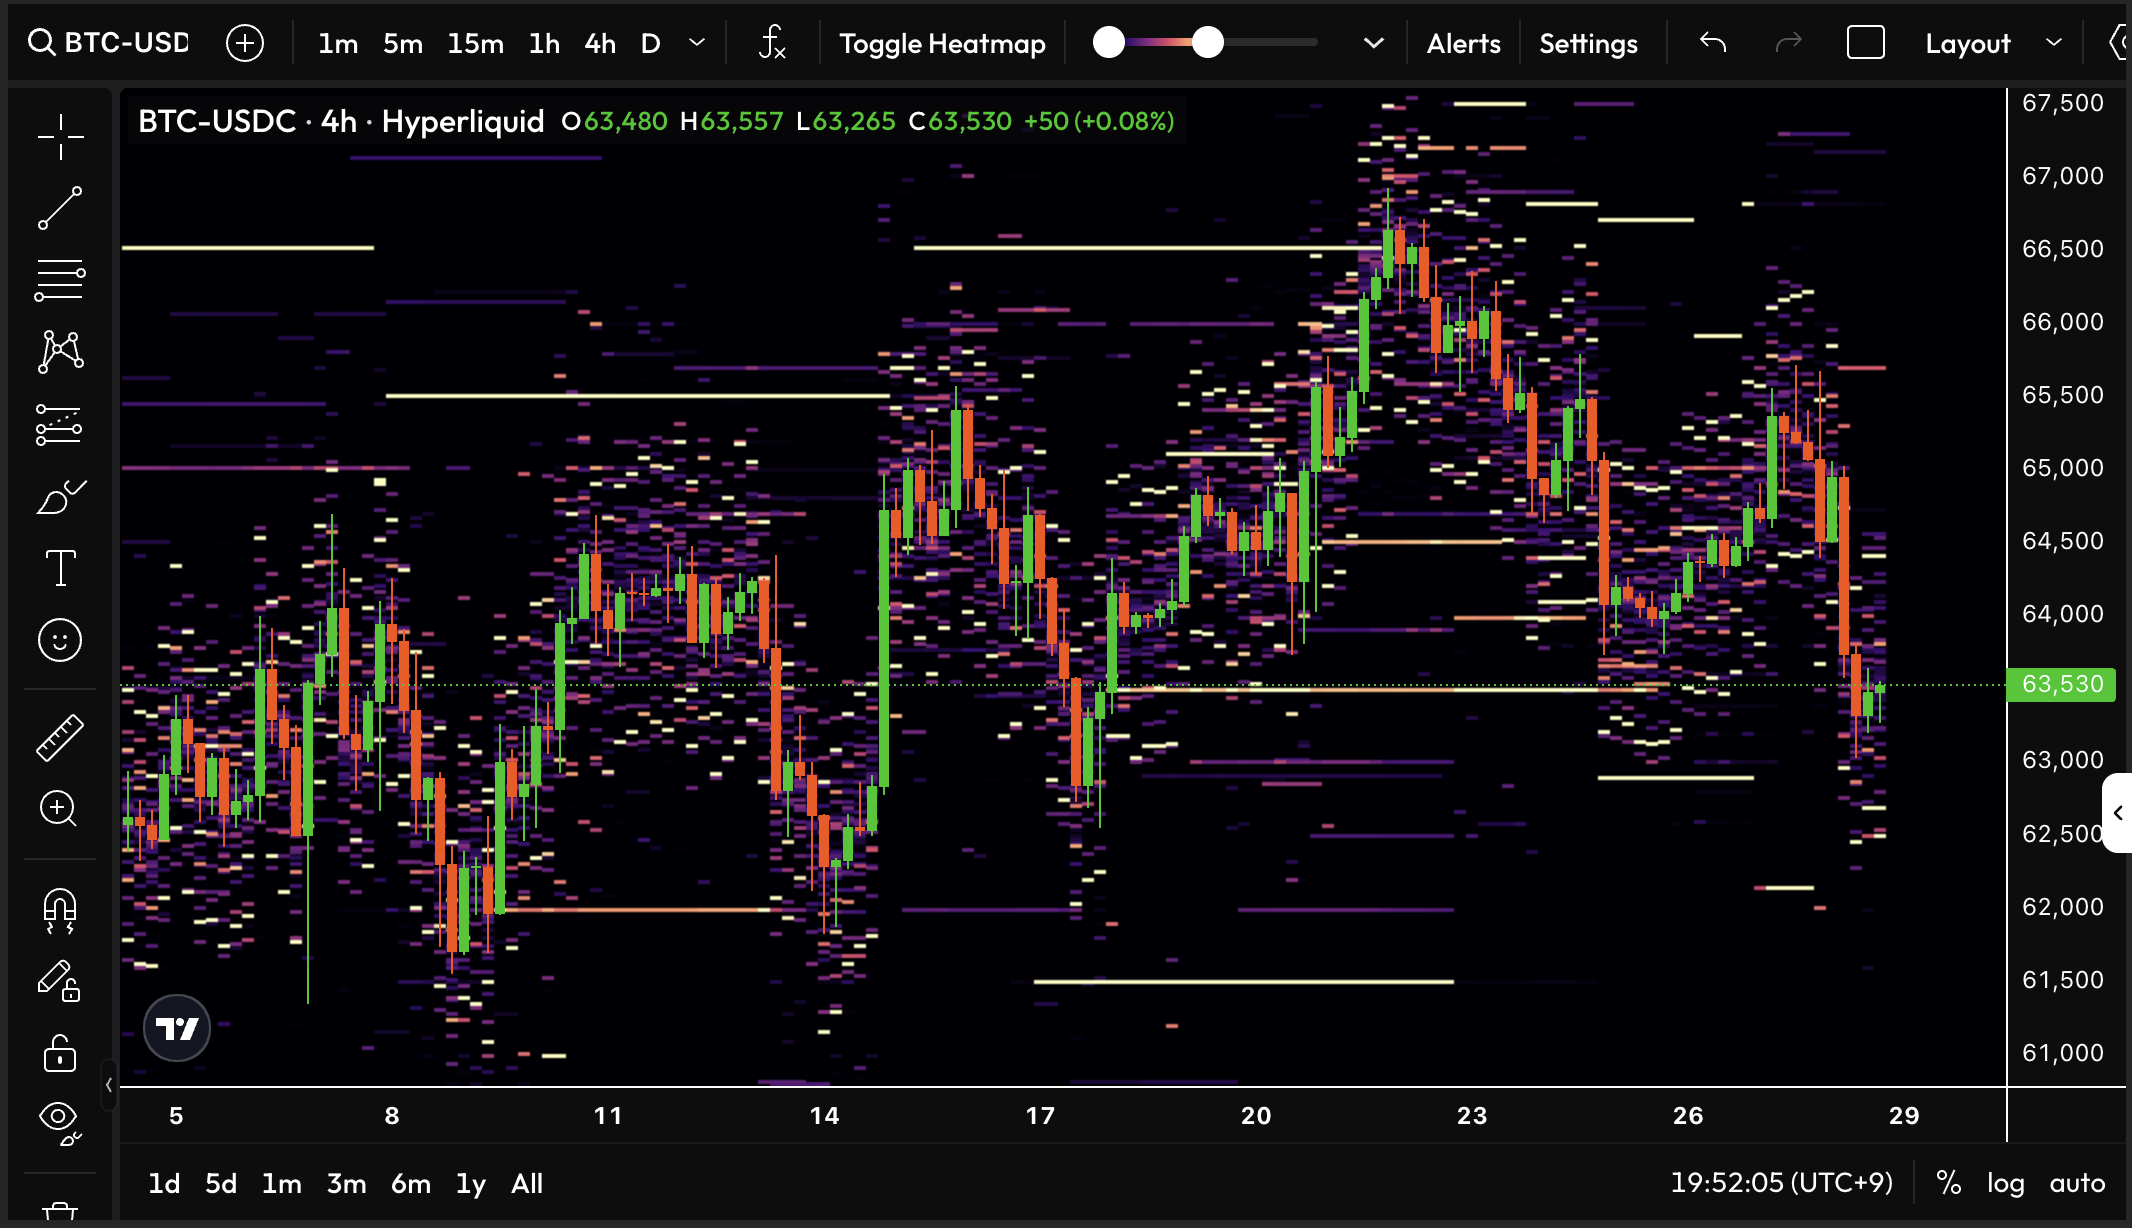
A BTC-USDC chart with the orderbook heatmap displayed behind the candlesticks

Configuring heatmaps

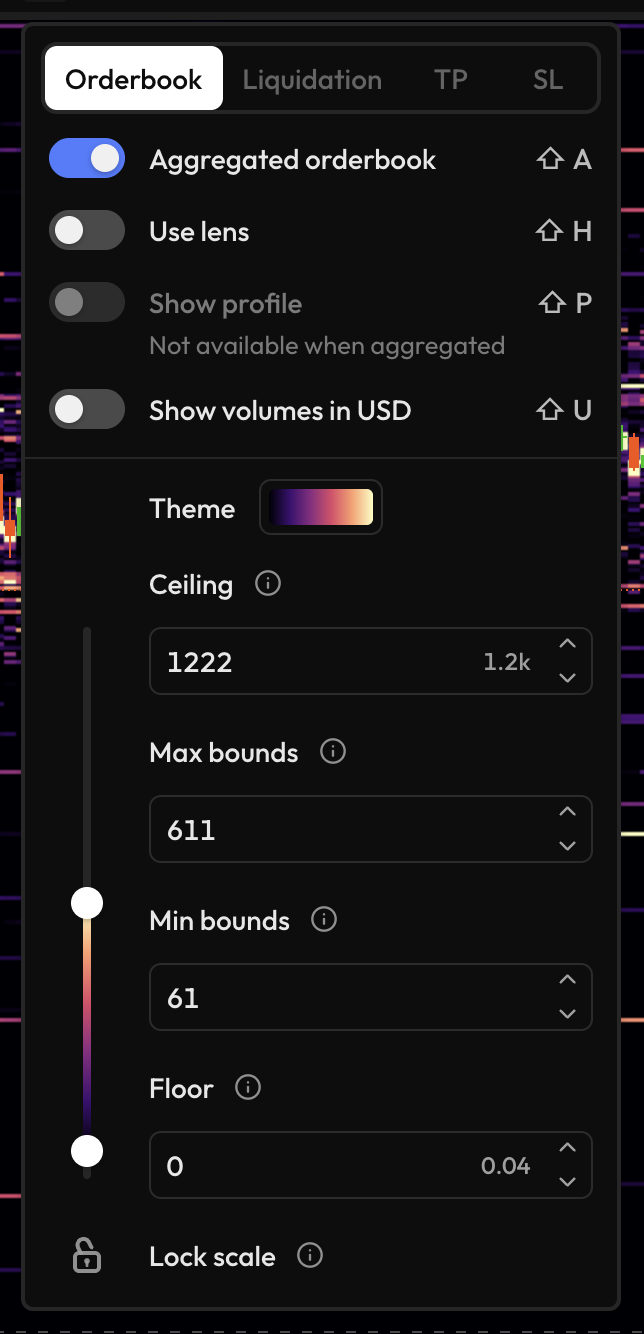
If you press on the small shaped symbol to the right of the heatmap range slider, you can open the settings menu for the heatmap (see Figure 2).
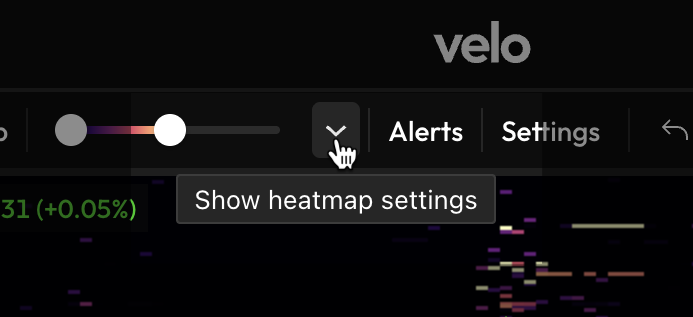
The Show heatmap settings button beside the heatmap range slider
Figure 2: Look for the icon to open the settings.
Heatmap settings for selecting the heatmap type, display options, theme, and scale
Figure 3: All the options that are available for heatmap.

Turning on Hyperliquid-specific heatmaps

For a few Hyperliquid charts on Velo, we support heatmaps for all of Orderbook, Liquidation, TP and SL. You can switch between them using the tab group at the top of the heatmap settings popup.
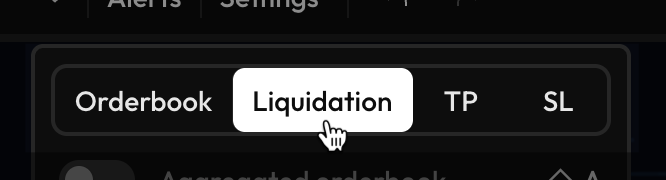
Heatmap type tabs for Orderbook, Liquidation, TP, and SL with Liquidation selected
Figure 4: Switch between Hyperliquid heatmap types using the tabs.
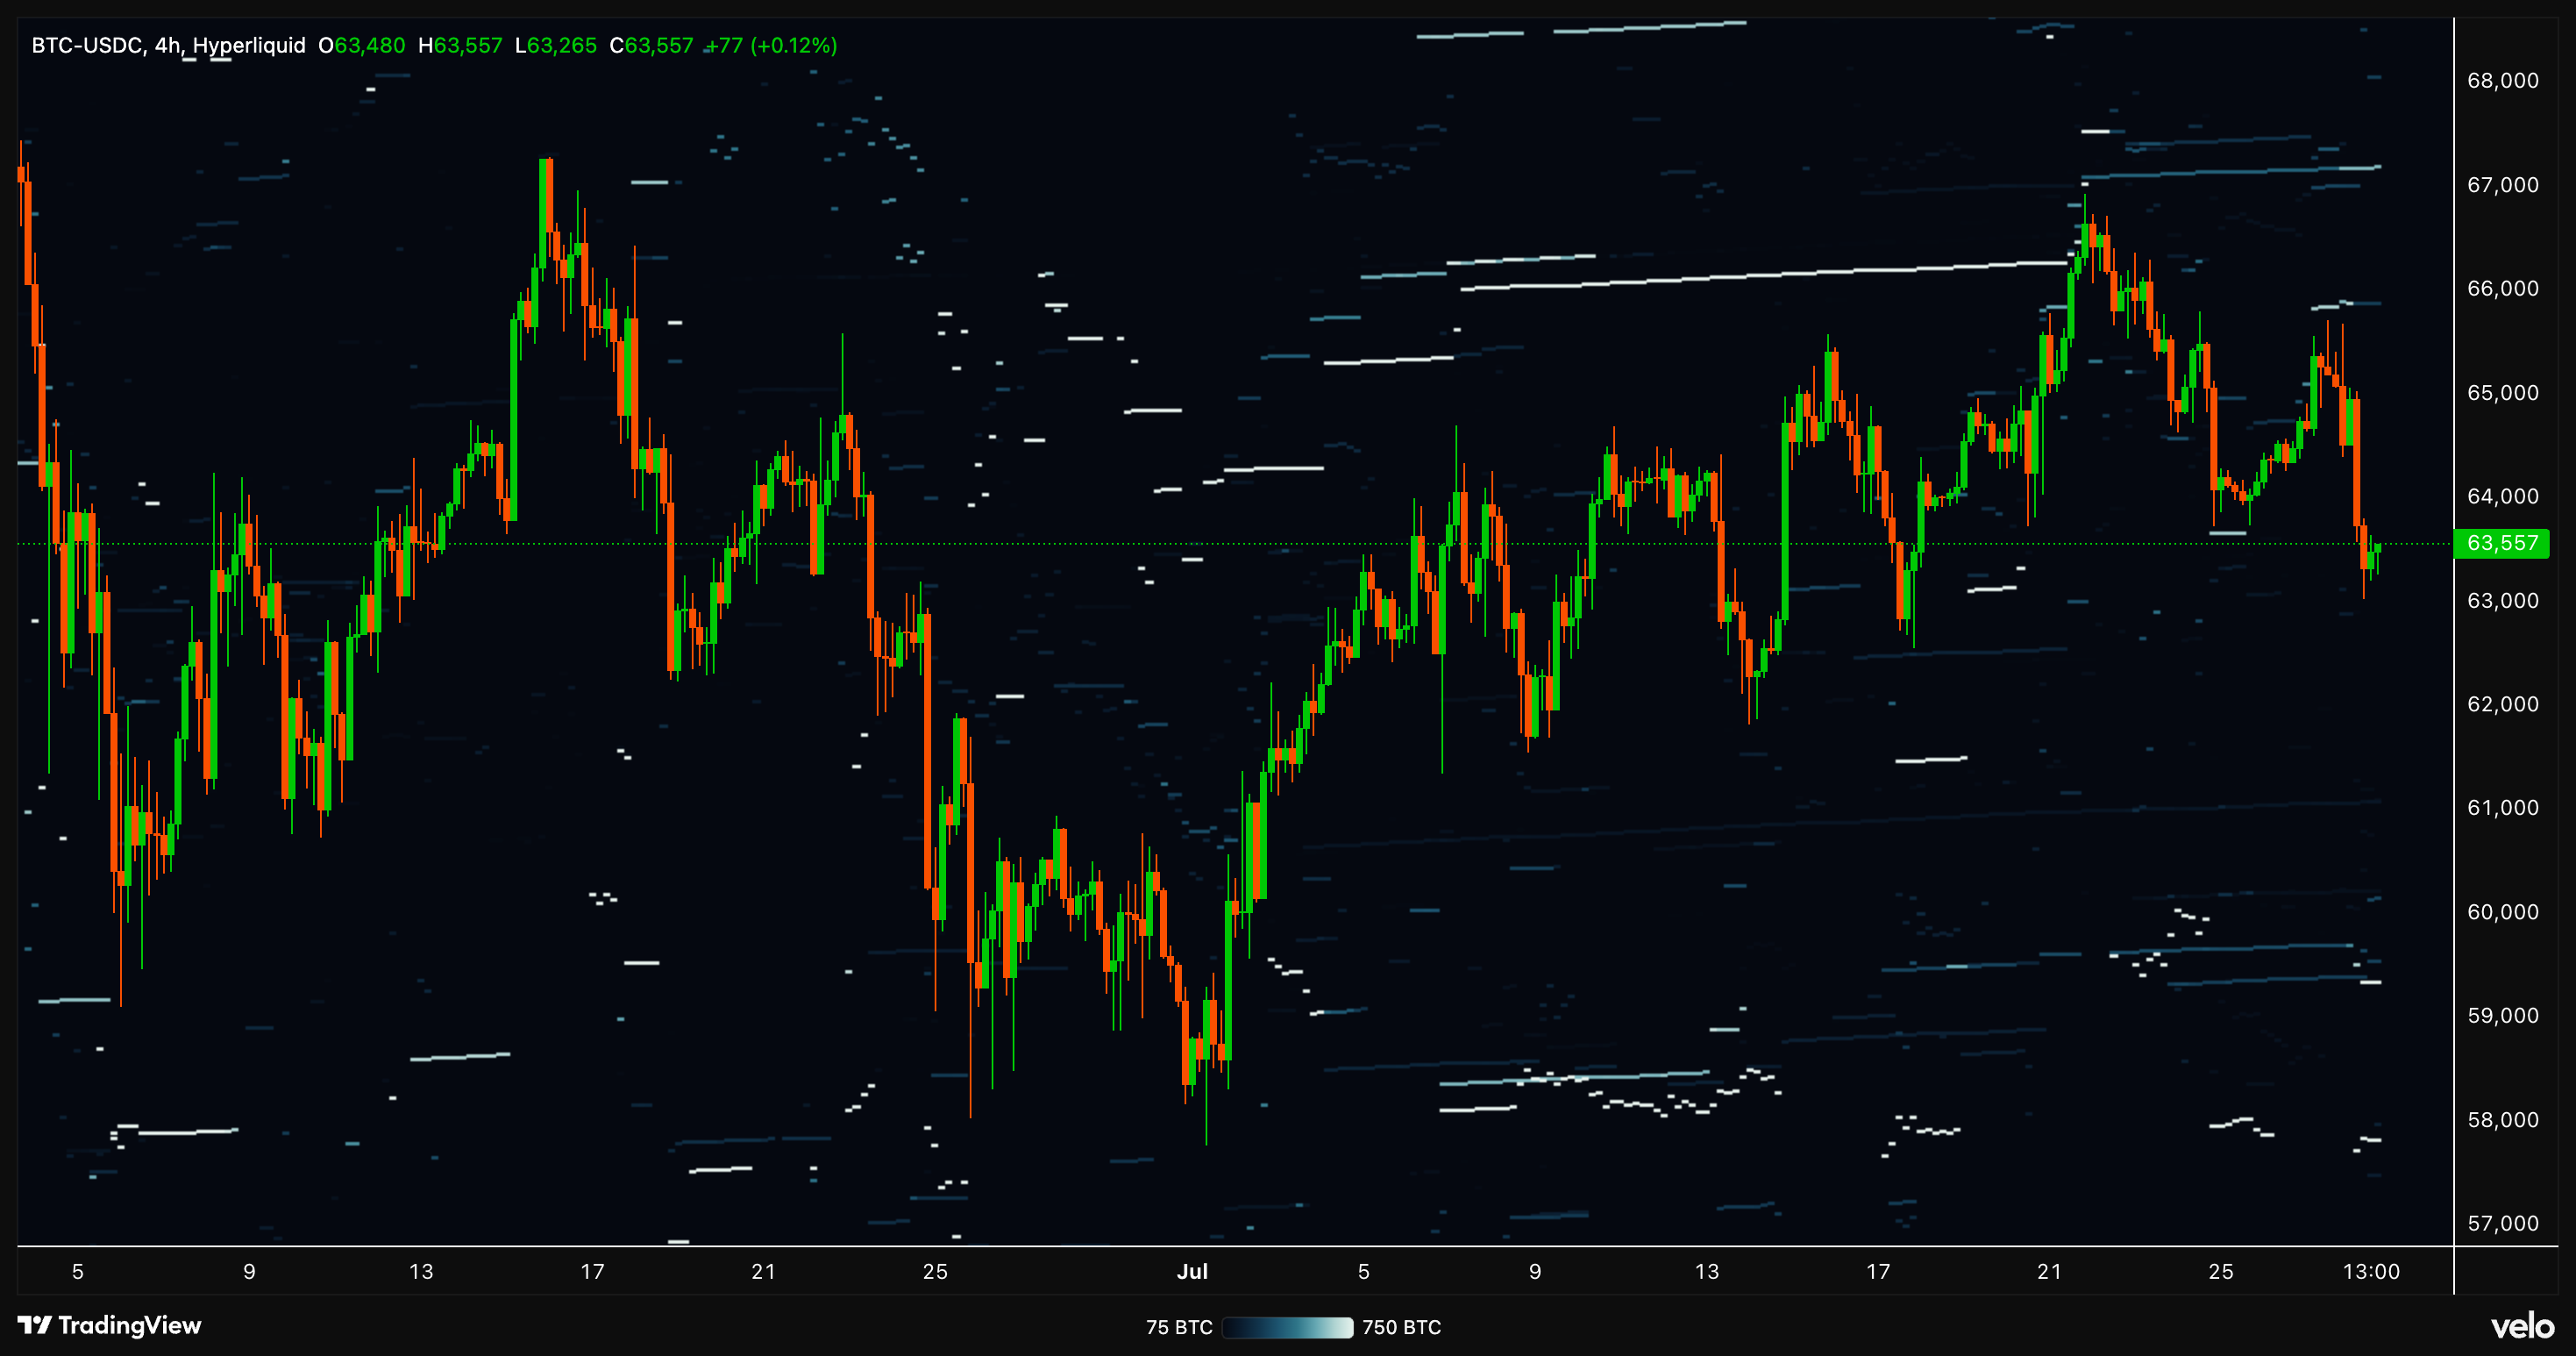
BTC-USDC candlestick chart with the Hyperliquid orderbook heatmap
Figure 5: Orderbook heatmap.
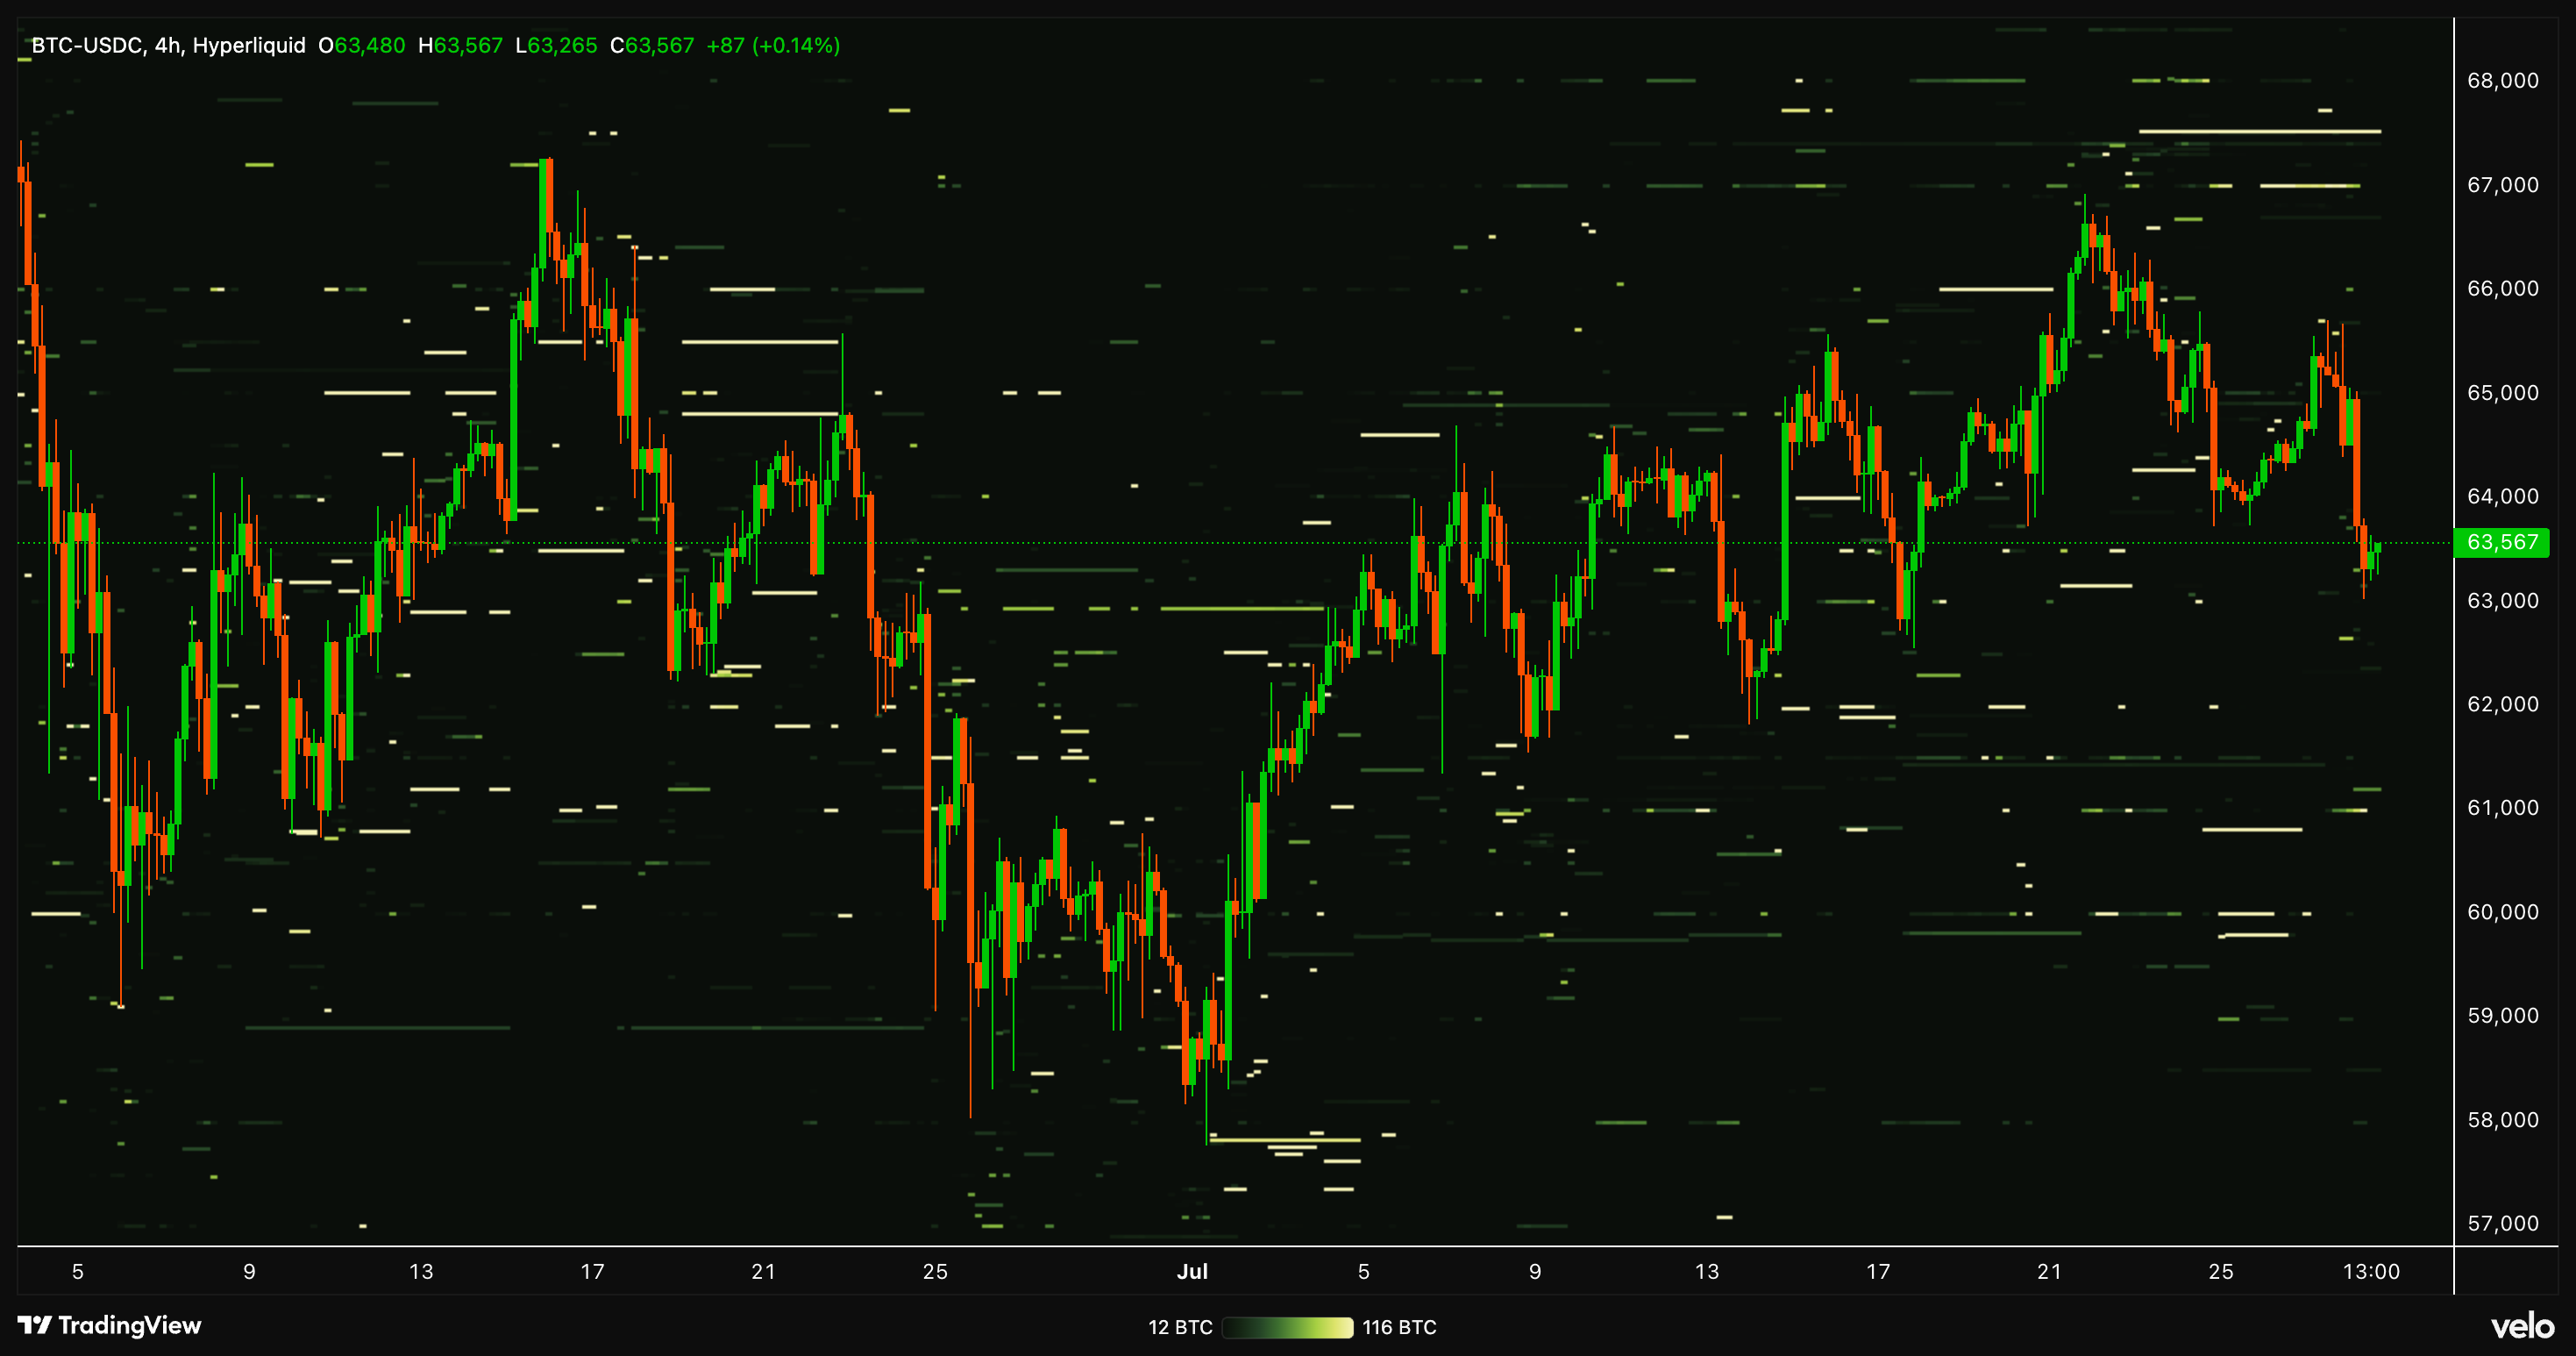
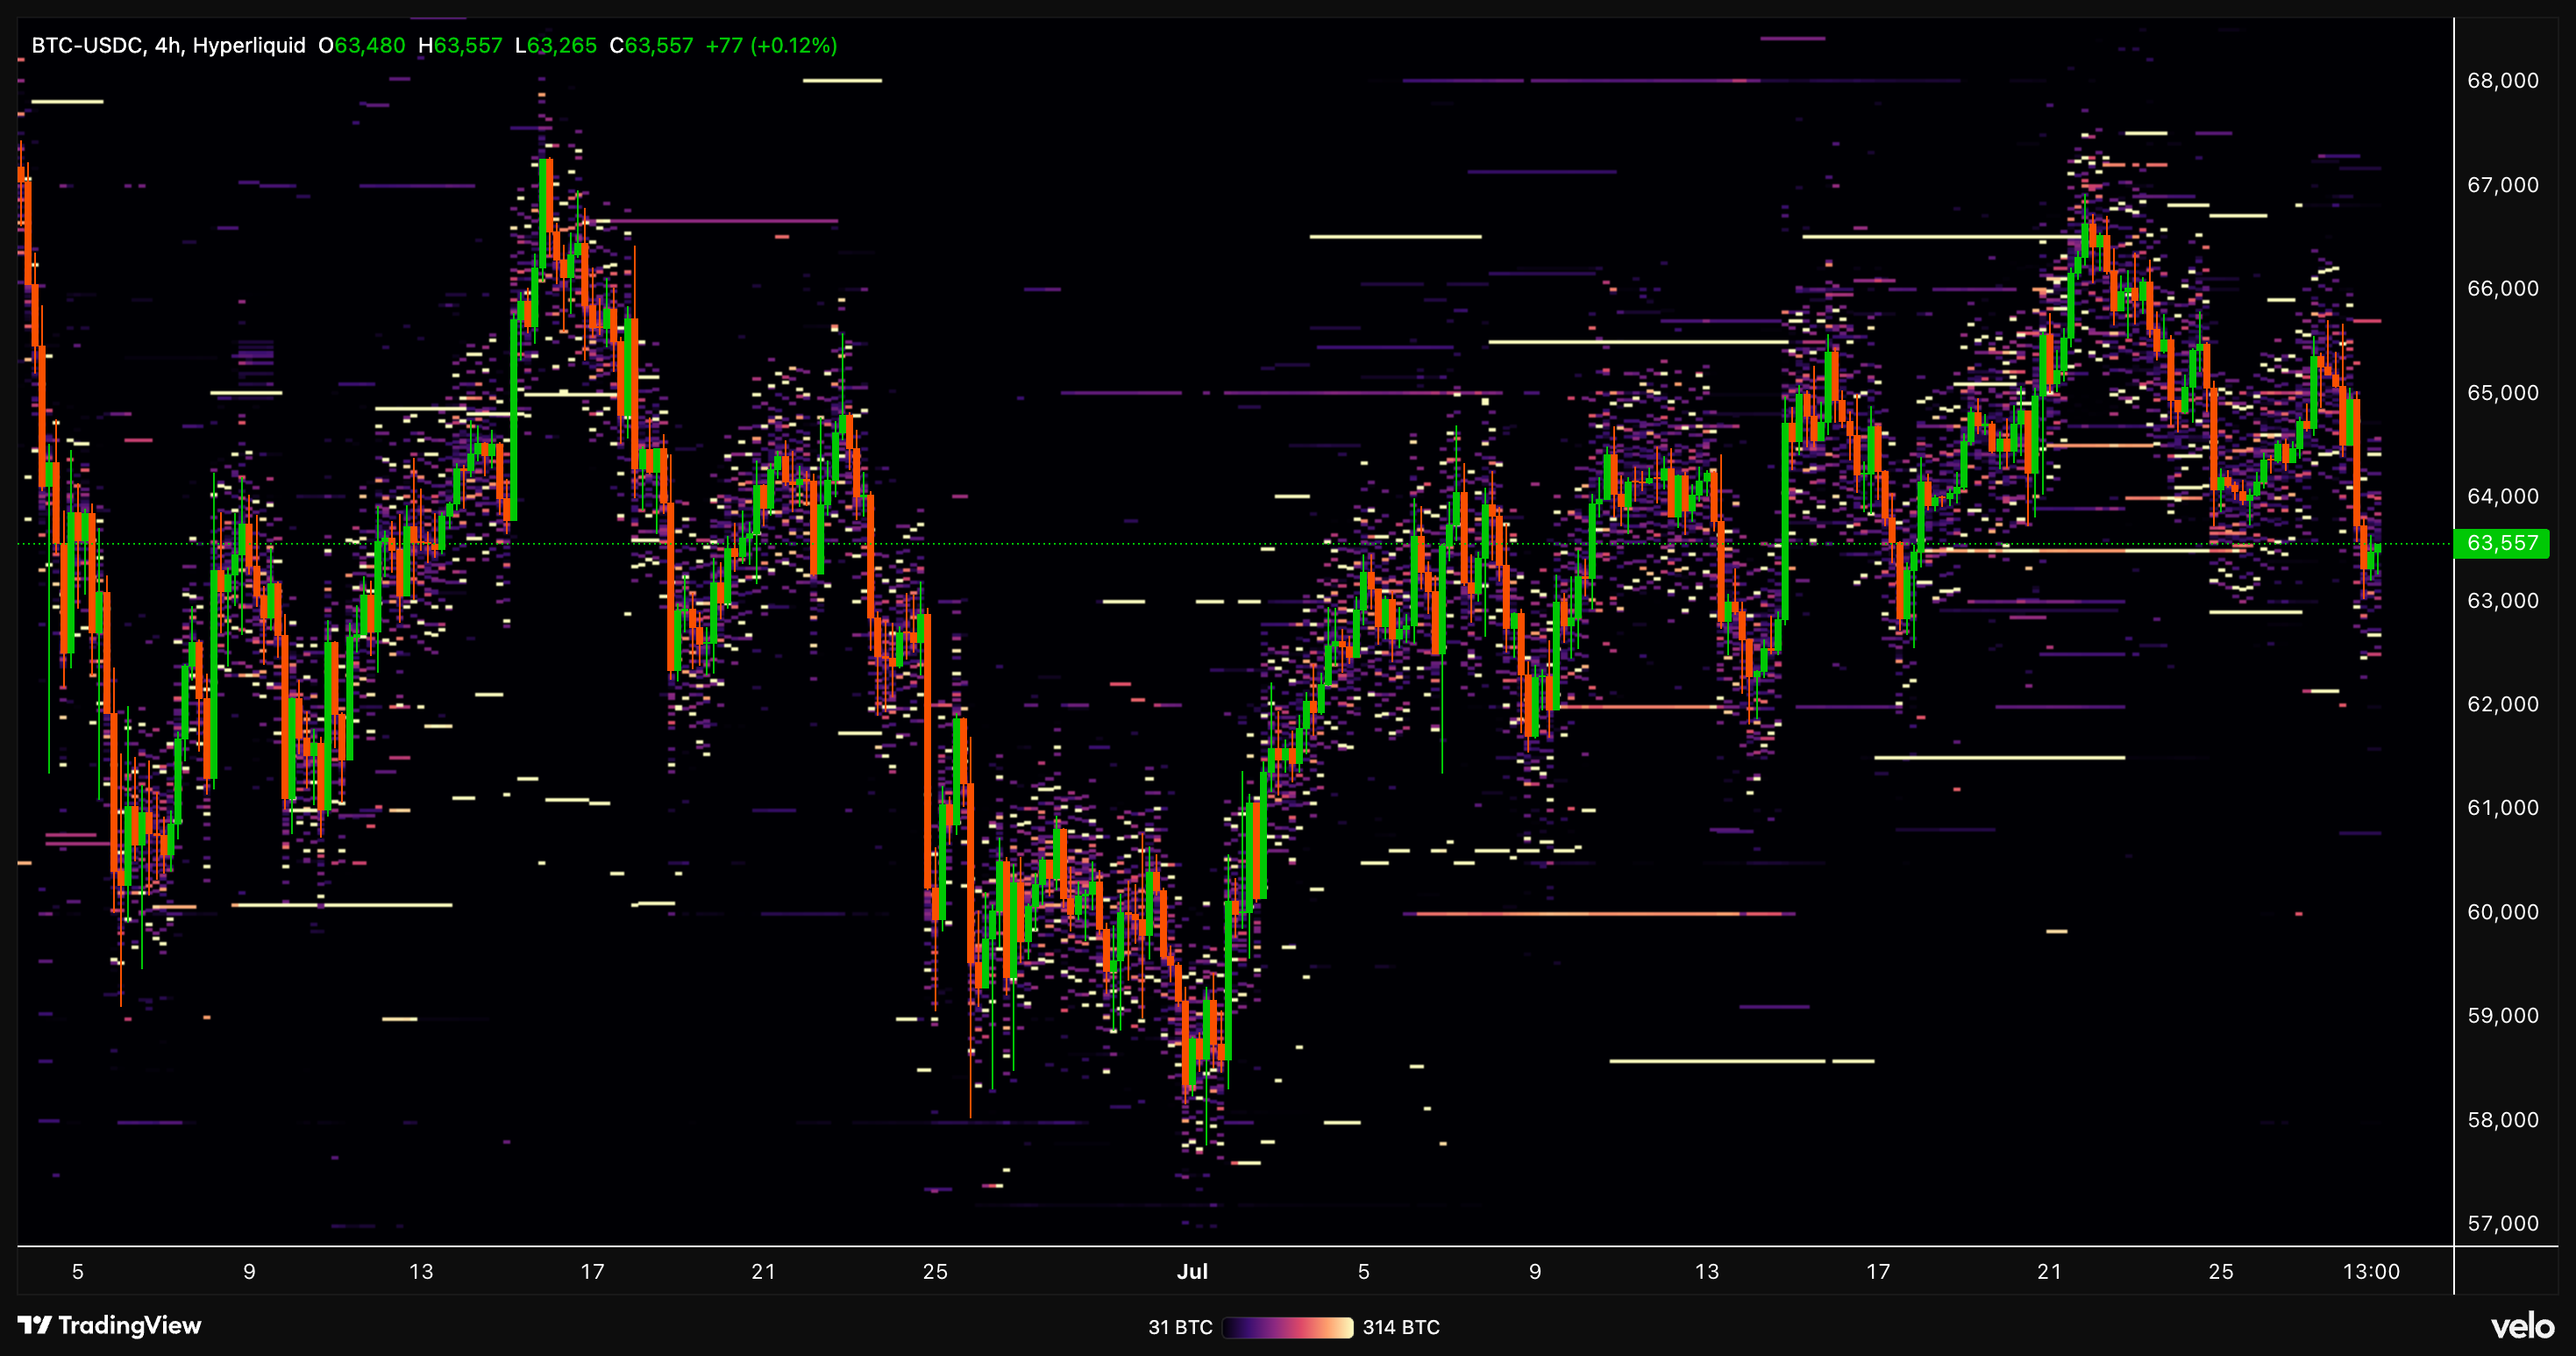
BTC-USDC candlestick chart with the Hyperliquid liquidation heatmap
Figure 6: Liquidation heatmap.
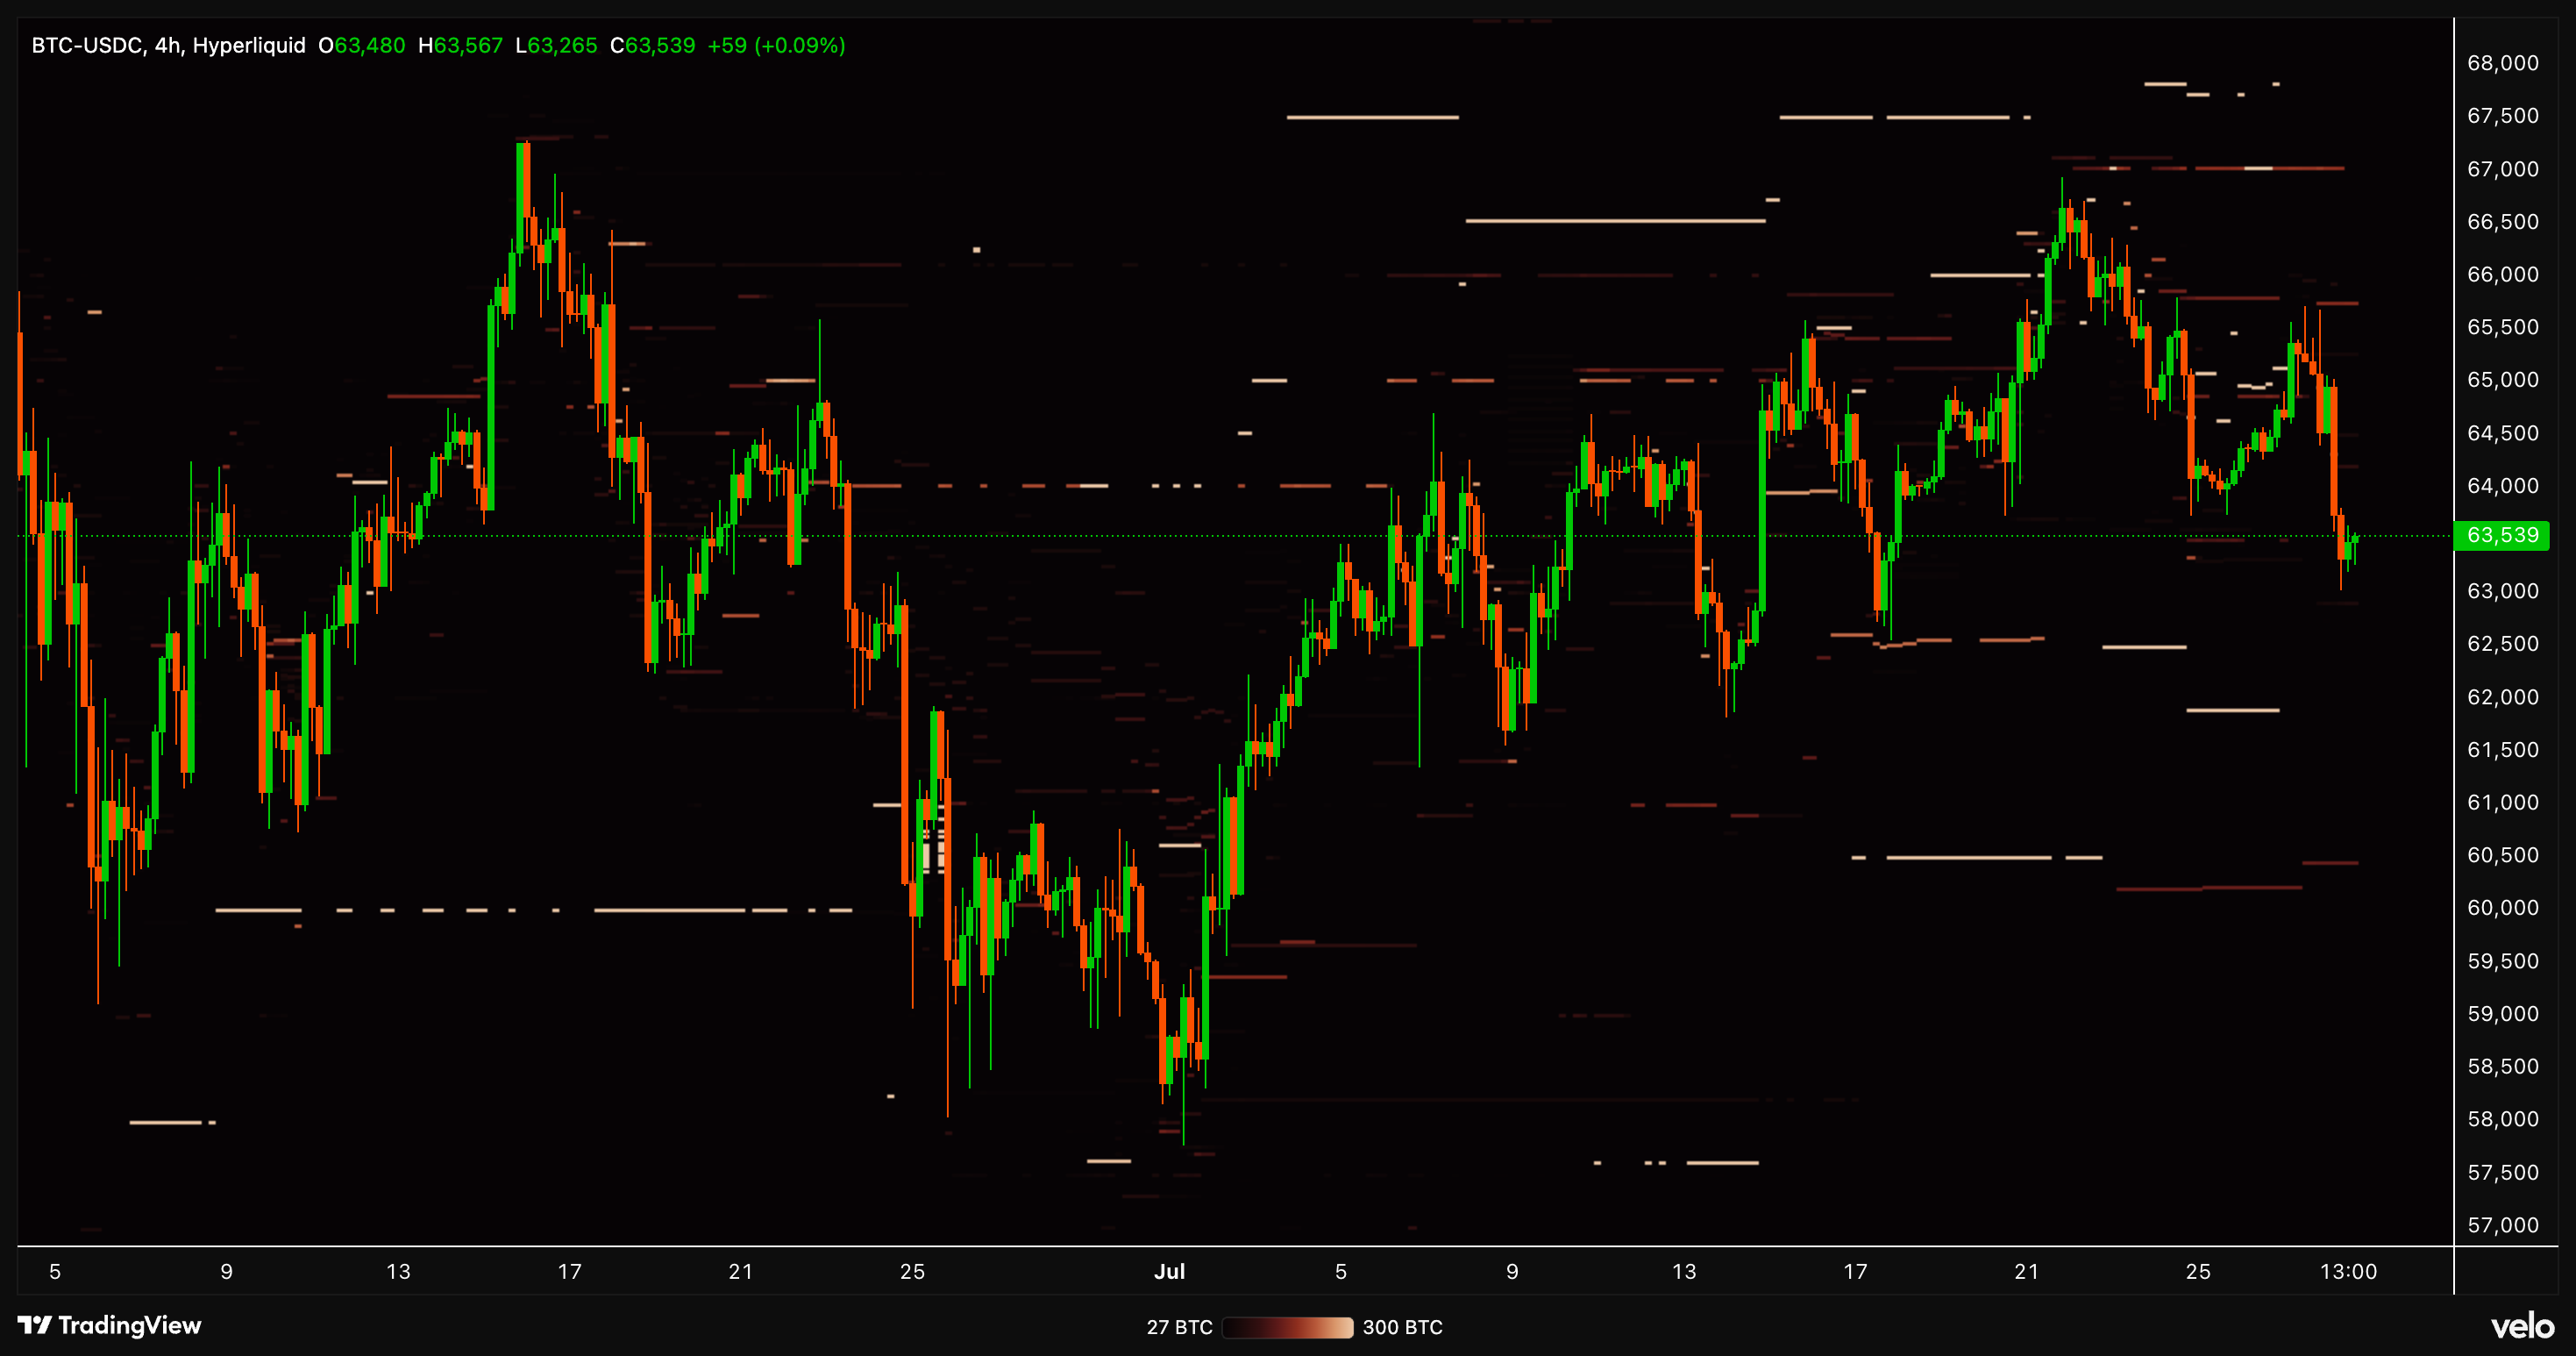
BTC-USDC candlestick chart with the Hyperliquid take-profit heatmap
Figure 7: Take-profit heatmap.
BTC-USDC candlestick chart with the Hyperliquid stop-loss heatmap
Figure 8: Stop-loss heatmap.